The reason for
Full Bleed Printing
printing terminology

NexCards prints full bleed. So do most other professional printers. What does that really mean? Is it a good thing and if it is, why? I’ll attempt to answer these questions and more.
Before the advent of full-bleed printing, photographs and other printed matter had a defined white border or margin around the perimeter. You may have snapshots just like this in that old photo album if it goes back to the 50s and 60s. You can compare full bleed printed works to borderless prints, which started in the professional graphic arts studios and eventually migrated to the prints of that seashore vacation. The viewer assumes that the beach sand, the sky, or whatever forms the backdrop for the photo, goes past the picture ends for an indeterminate space.
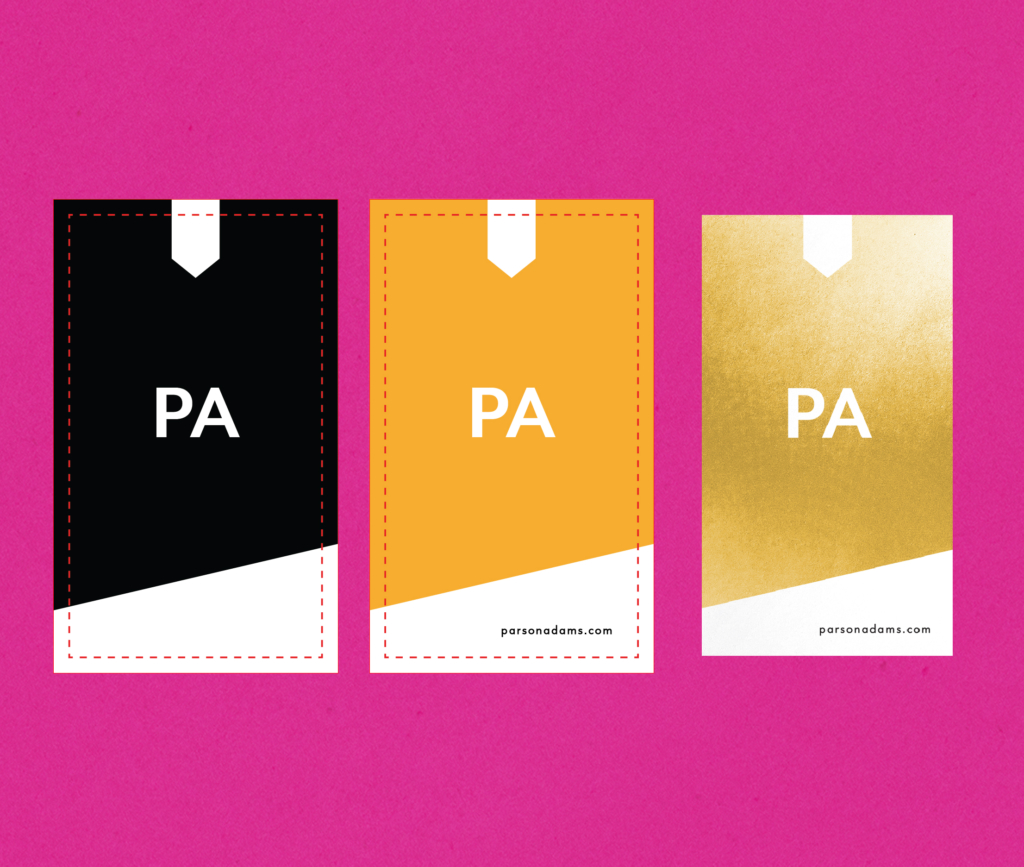
So when you choose a printer that does “full bleed” that is the benefit that you derive. This modern look has become the de facto standard for all but the very cheapest printing jobs. When setting size standards, full-bleed printing firms require a certain over-sized design, typically for business cards either 3.75″ x 2.25″ or 3.625″ x 2.125″. So the designer takes backgrounds, repeated artistic elements, or whatever else he or she wants to go to the edge of the card and takes those elements to the very end of the card design at this slightly enlarged format. In trimming, the perimeter is cut to yield a perfect 3.5″ x 2″ business card.
Well, almost perfect. The trimming process in off-set printing is still largely mechanical. Trimmed pieces are not always perfectly aligned. Although it’s not a perfect analogy, imagine quickly pounding out dough shapes with a cookie cutter. But instead of a larger flattened dough area, you have to hit the mark on dough pieces precisely the size of your cookie cutter. Pretty hard to do, huh? It’s easier to do that on a larger piece than the cookie cutter.
High-speed cutting may drift almost imperceptible though a 500 or 1000 piece set. especially from set to set. But when the design is full bleed, these very minor shifts (perhaps 1/16″) become imperceptible especially with the common once color background. With a defined border (and we still get some of those submitted) the tiny shift becomes more noticeable because you’re placing a “ruler” along the edges in the form of the border.
Be assured that your piece will always measure 3.5″ x 2″. But to avoid unexpected results, we require compliance with two important parameters among our file specifications. One, submit a full bleed design at the required over-size and keep wanted text will away from those edges. And two, do not submit visible borders or margins. Most graphics software will allow you to set up the over-spray size defined in our file specs. Only then will you be able to take advantage of the borderless look that is so in demand today.
Refer to our File Specs (file size/dimensions) for these and other specifications. Your printed project will go much smoother and faster if you follow these guidelines.